
Store Your Board Freestanding G-Bike Review: Assembly / Build Quality
Assembling the rack
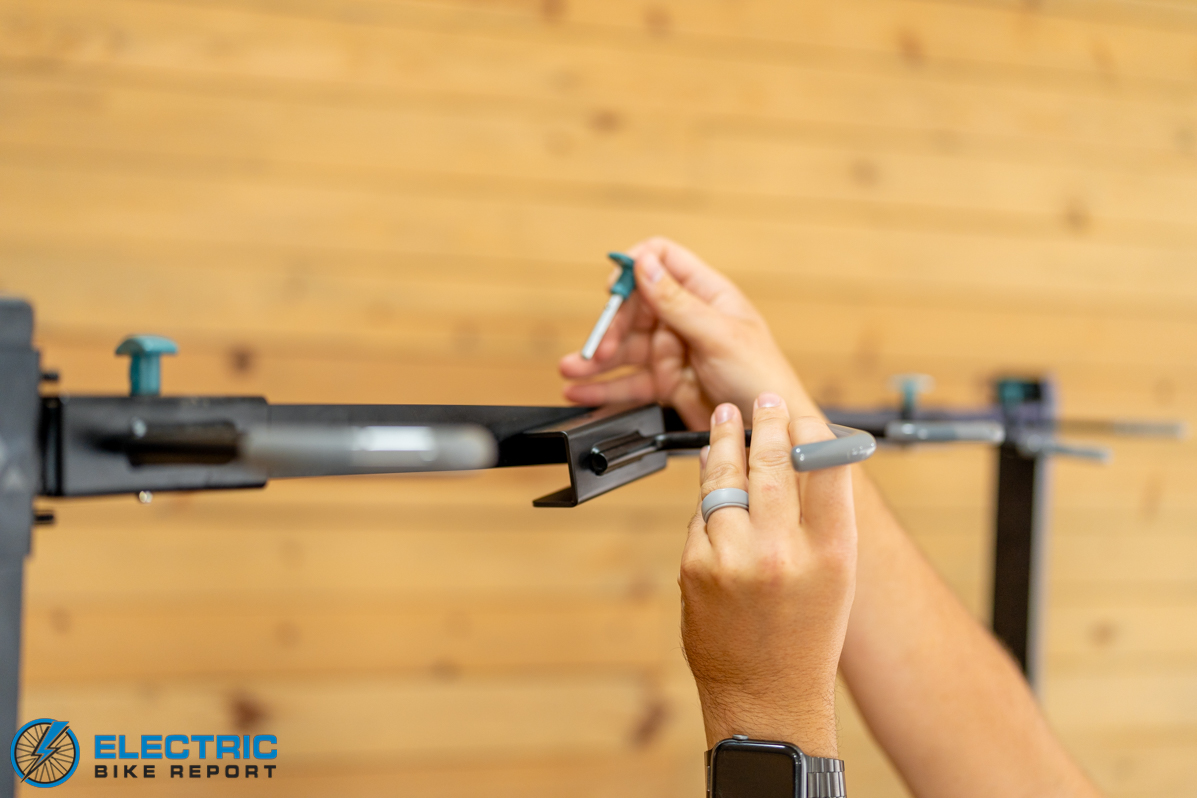
The rack goes together easily. Just line up and secure the pieces into place with the included material.
The assembly was simpler than I expected. The box was so compact and light I thought we might’ve received the wrong one—but it all came together quickly. You just line up the frame bars, bolt them in place, choose your crossbar height, and then set your hook spacing. You can go equal across, or adjust spacing tighter or wider, depending on your bikes.
I also recommend facing the first hook (left to right) to open to the left, while I kept the rest facing right. This made it a little easier to access the bike in the first slot that way.
Materials

That’s a relatively small footprint, but the base is solid. Even when fully loaded, the rack didn’t seem to be in any danger of toppling while supporting nearly 300 lbs of bikes.
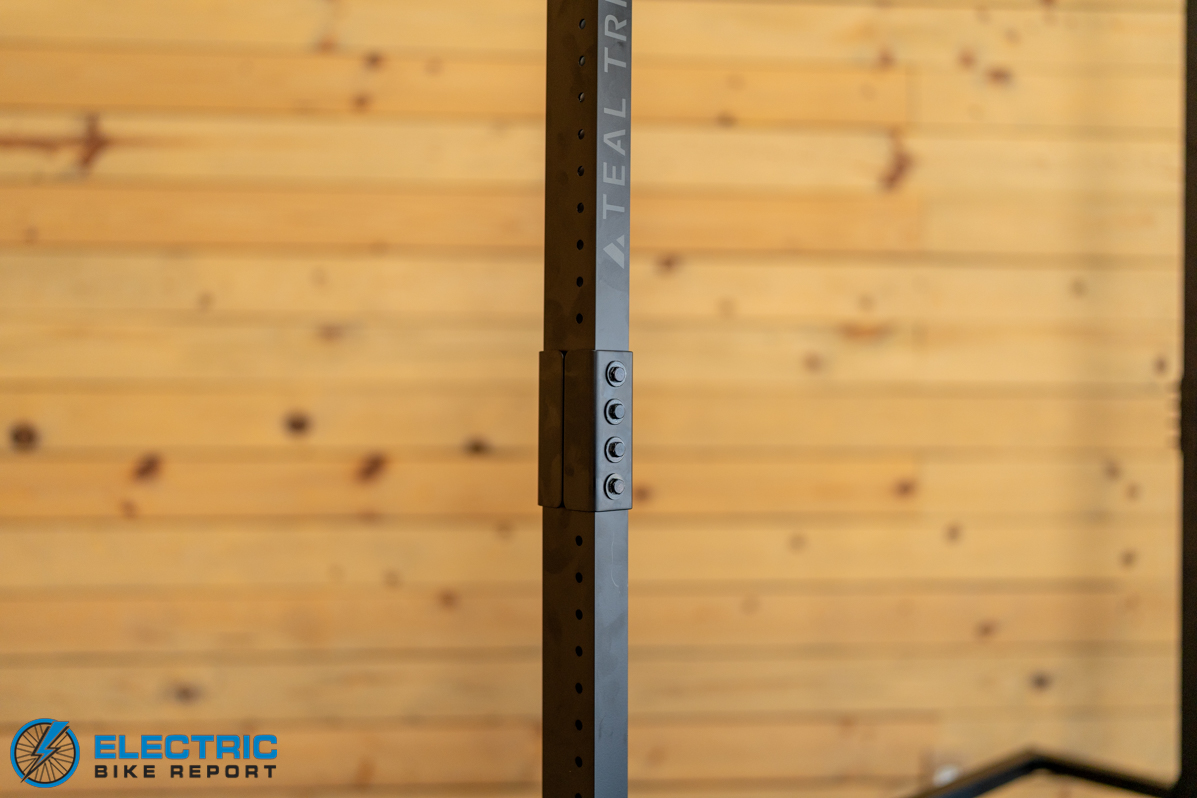
The rack itself is powder-coated steel and aluminum, with rubber-coated hooks to help protect paint and avoid scratches. Even though it’s relatively lightweight at 34 lbs, it feels solid when built, and it’s backed by a lifetime warranty. As long as you respect the weight limits, you can expect long-term durability.
Even when fully maxed out and doing the classic “shake and see if it breaks” test, it help up well. I have virtually zero worries of it toppling.
The hooks can fit tires up to 2.75” wide. That’ll fit most tires just fine, though many e-bikes these days feature tires up to 3”, so you’ll want to purchase the optional wider hooks if necessary.
Securing the bikes
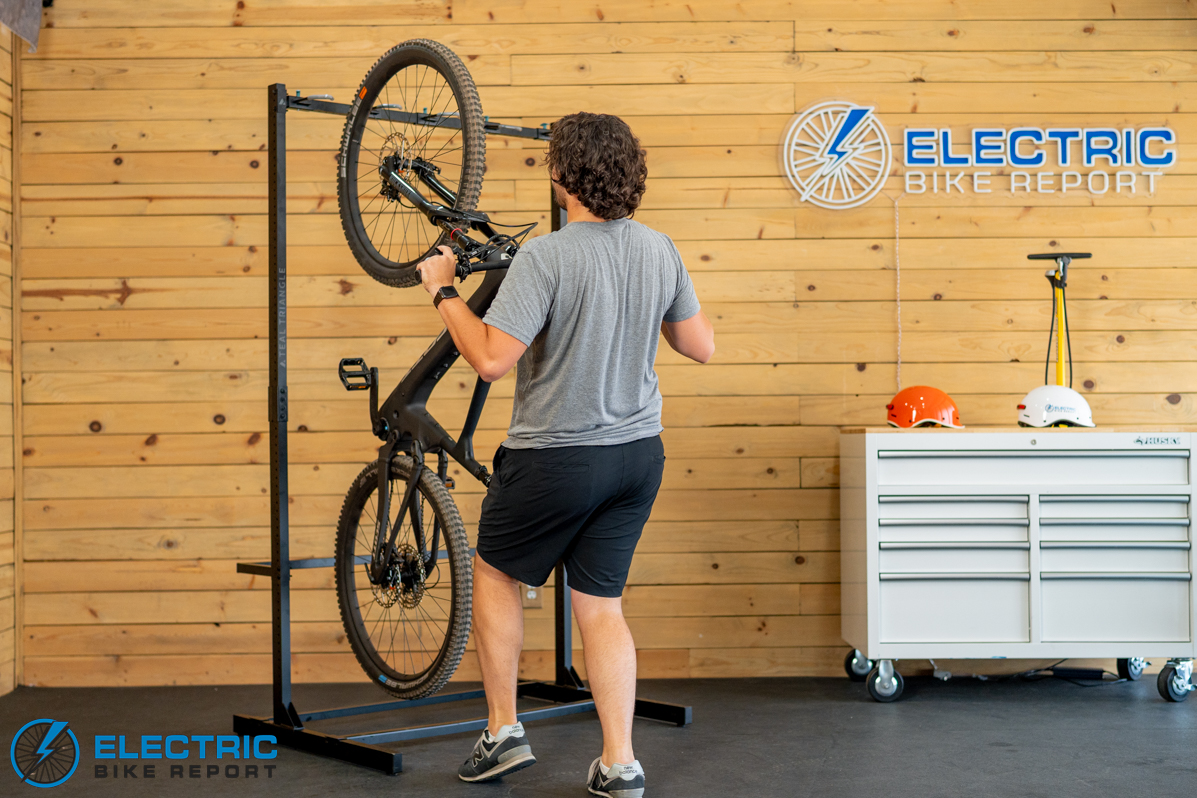
The easiest method is to line it up, roll it back on one tire, then use your leg for support to lift it on the hook.
For e-bikes, if the battery is removable, take it off—it shaves weight and makes the lift a lot easier.
Here’s the method I like for most bikes: line it up, roll it onto the back tire, wheel it forward, grab the brake, use your leg under the saddle for support, and lift it into position. Simple as that. If you’re not maxing out the number of bikes, you can do this for up to three bikes fairly comfortably.
When you’re dealing with tighter spacing, things get trickier. You’ll want to alternate bikes so some are inverted with the handlebars pointing down. Going handlebars up for all of them isn’t realistic if you have all adult-sized bikes, though you might get away with it if you’re mixing in some kid-sized ones. Also, I didn’t have an issue with it, but it was a close call with the derailleur contacting the rack’s frame on the right side. Again, just proceed with caution.
The rolling method doesn’t work as smoothly with the inverted bikes, so I’d suggest saving the two and four spots for your lighter bikes. In most cases, you’ll need to hoist them into place—just take your time, be careful, and don’t be afraid to ask for an extra hand so you don’t scratch frames or bang pedals together.
Taking bikes down is just the same steps in reverse. For inverted ones, just pull it off the hook carefully. For handlebars that are up, you can do the same method you got them on there, just in reverse.
It’s nice to easily adjust the spacing when you’re trying to get the best fit, and that includes determining which direction the hook face opens towards.
